In this blog post we are going to walk you through how to start an internet radio station with Airtime Pro and start broadcasting live in five minutes or less!
1. Starting your trial
First, you will need to start your 7-day free trial (no credit card required to sign up). There you will be asked to choose your radio station’s name. You will then receive an email with all the credentials for your testing instance and some useful tips to help you get started. Click on the link in this email to start broadcasting content on your brand new station.
2. Set up your Airtime Pro station and users
Once you’ve used your credentials to log in, you’ll need to set up your station and profiles for your contributors.
The next step is to, set your station’s timezone in the Settings menu. This will be the default for your station, and all scheduled content on your radio page will be displayed accordingly. To set your timezone, click Settings, then General, where you will see the Station Timezone setting.
Each contributor, admin and DJs alike, need to enter their details so that, for instance, users in different parts of the world can program their content and view the calendar adjusted to their local timezone.
To set the profile click Settings, then My Profile. The Interface Timezone is the last dropdown menu. Select the appropriate timezone and click Save. To add contributors, click Settings, then Users.
3. Upload tracks for my station
Click the upload button on the upper-left side to find the area where you’ll upload your tracks. You can drag and drop several of them at the same time into the main window and they’ll start uploading.
4. Scheduling your first show
After your tracks are uploaded, it’s time to start scheduling your first show. Start by clicking the calendar button in the navigation bar on the left.
On the calendar page, click on the date that you want to schedule your show. Next, name your show and select a time for it to be scheduled. Here, you can enable the show to repeat on certain days of the week over certain intervals. Once you’ve determined your show’s schedule, click ‘Add this show’ to get the show on the air.
Now that your show is scheduled and you’ve uploaded music, you’ll need to schedule the tracks you want in the show. To do so, click on the show you just created in the calendar, then click scheduled tracks. You can now see your show and your track library. To get these on the air, simply drag them over in the order you want them to play out, and click OK. If you want to switch things around, you can also reorder any track that isn’t playing, even while the show is on the air.
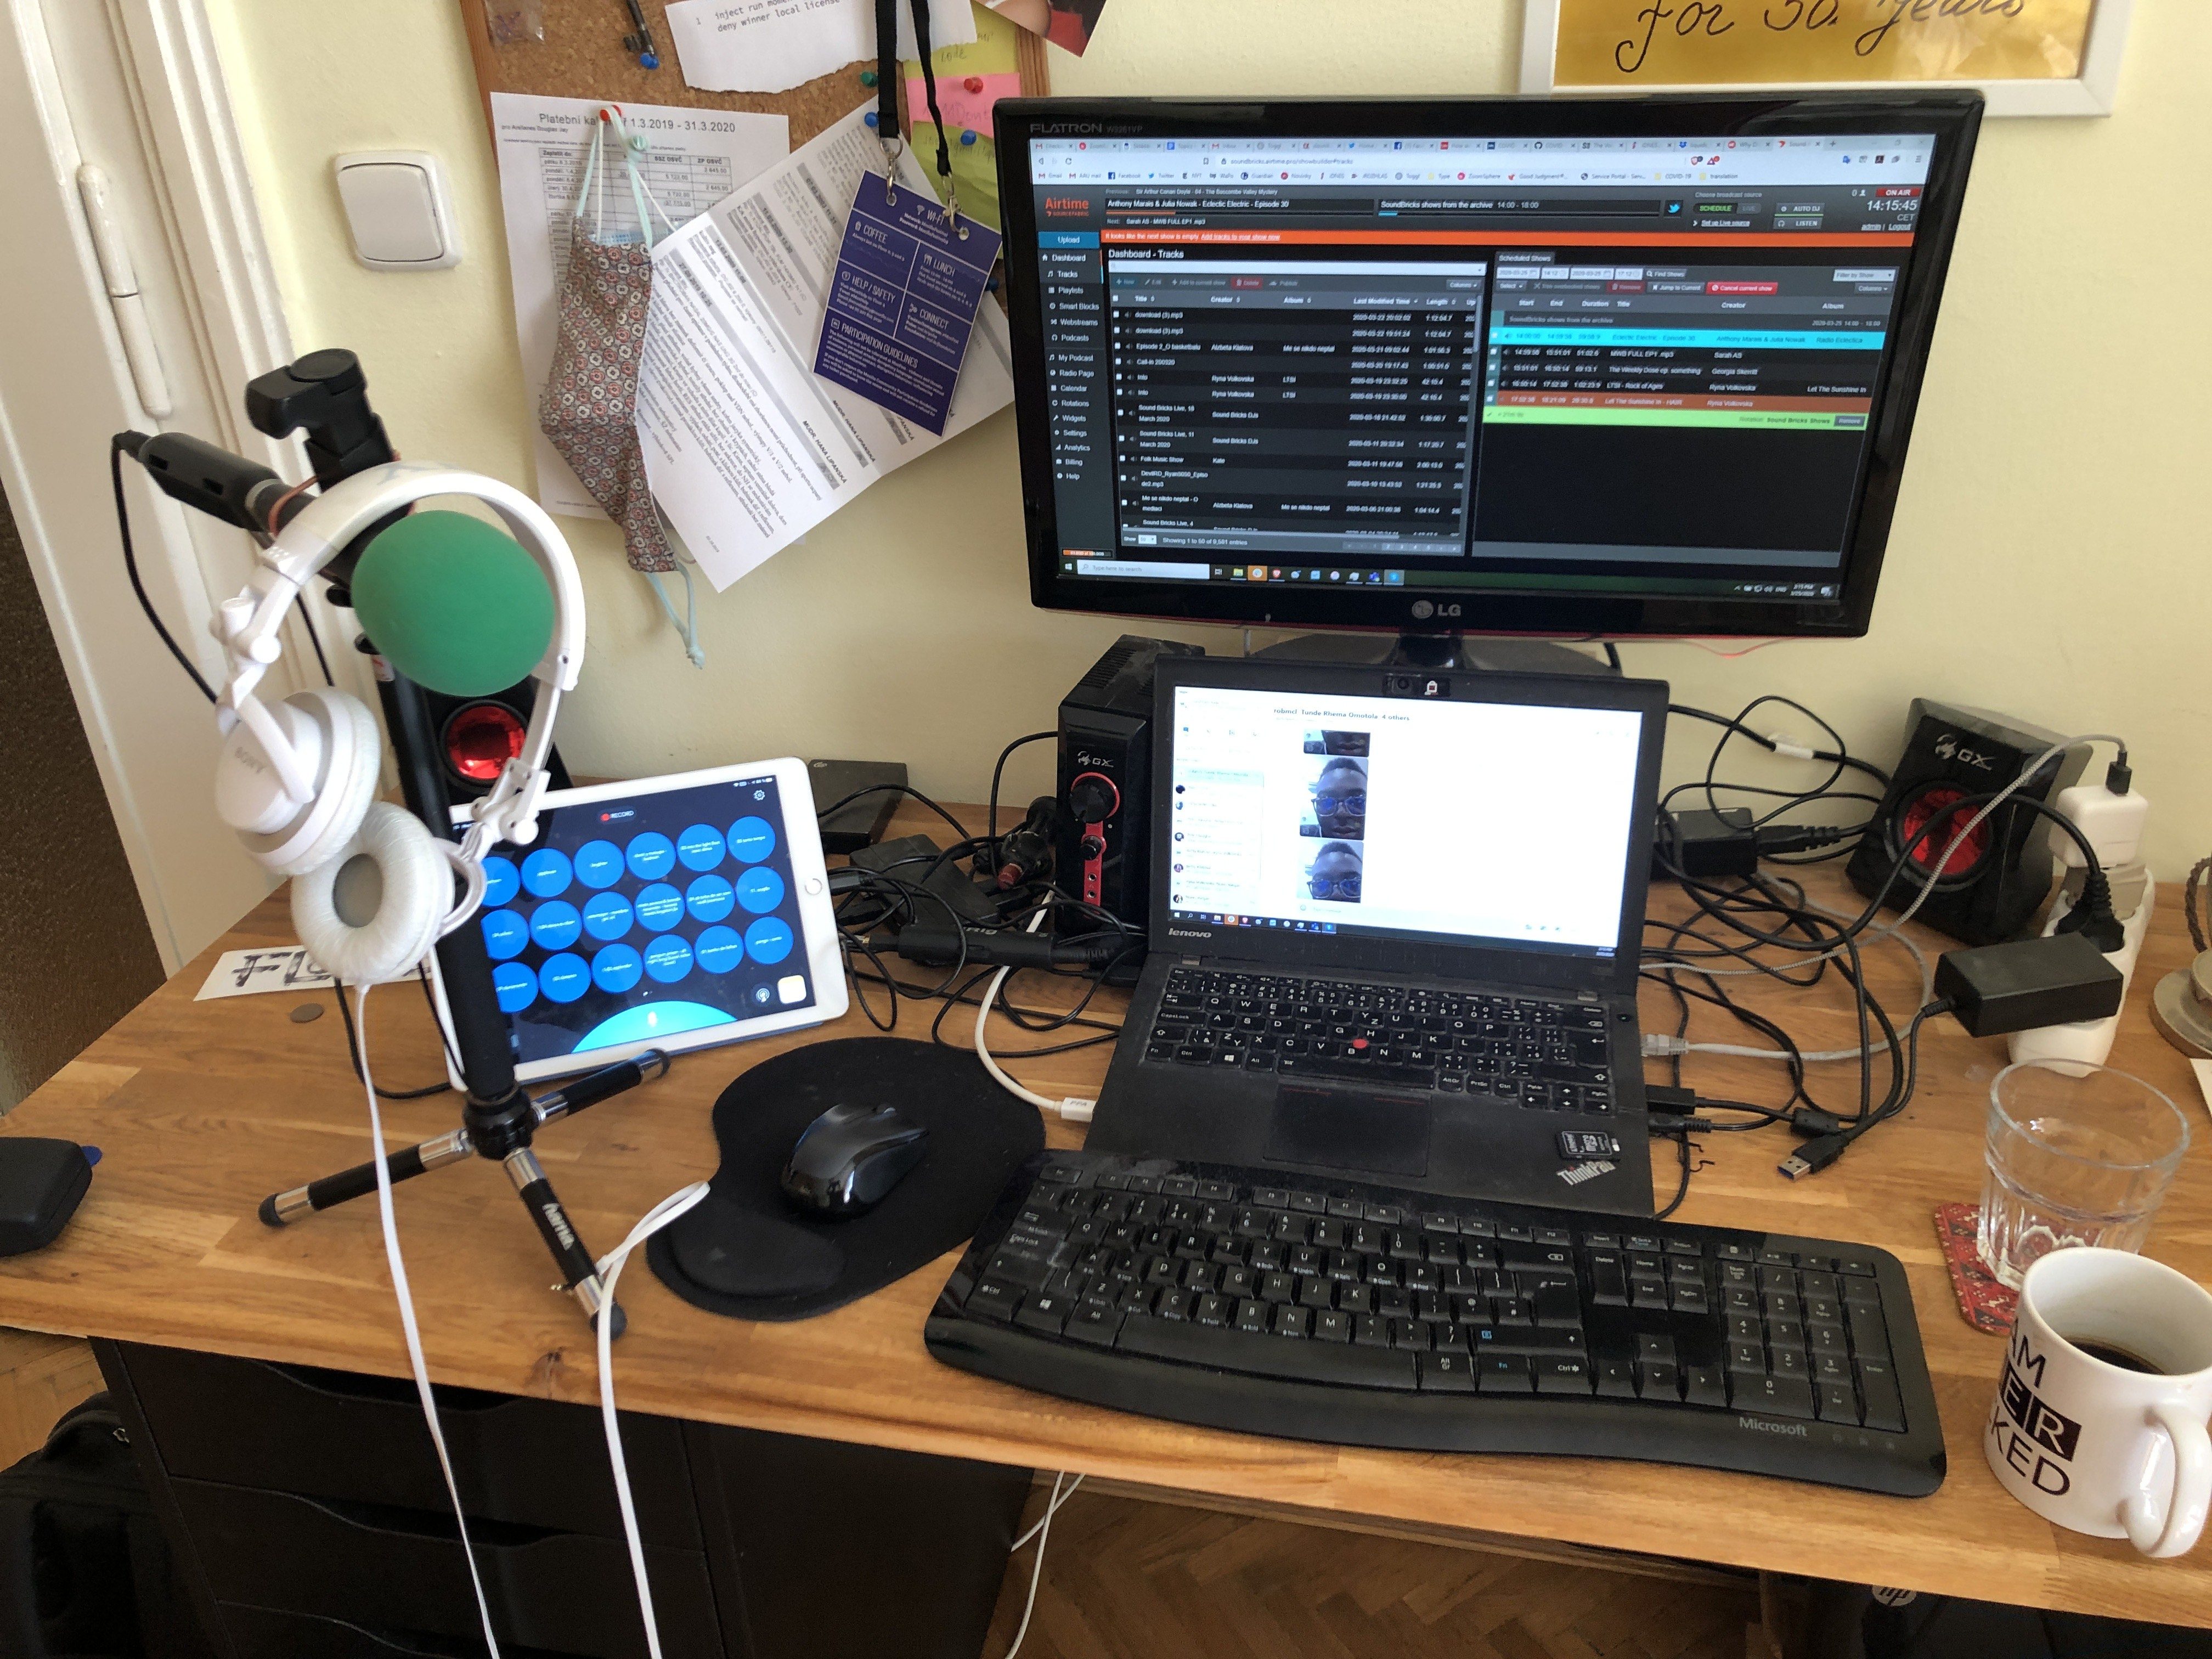
When the scheduled show goes live, you will see the “On Air” sign light up in the upper-right corner of the interface, and the show name and track currently playing will appear to the left.
To preview your radio page and see how it will look to your listeners, click the Radio Page link on the left. To share your page with your listeners, copy that URL from your browser’s navigation bar and share it with them.
5. Broadcasting Live
To start broadcasting your voice live on the air, go to the Settings menu and choose the Streams option. In the Live Broadcasting section, make sure the Auto Switch to Live DJ box is ticked. Below that, you can also adjust the “Switch Transition Fade”, which gives you control over how the end of a song transitions to your voice. The default is set at 0, but if, for instance, you set it to 3.5 seconds, you’ll get a nice fade into the live show rather than the song being abruptly cut as you begin speaking.
In order to live broadcast, head over to the Help menu and select Broadcast Live. You will need to install a third-party broadcasting app to get your voice on the air. If you already have one on your computer, select “I have live broadcasting software” and follow the direction to link it (MIXX, BUTT, SAM Broadcaster, Nicecast) up with your Airtime Pro instance. If you don’t yet have it, select “I don’t have live broadcasting software” and follow those directions to download software.
The easiest app to use (currently only available for Windows operating systems) is Rocket Broadcaster. To set it up, click the Live broadcast with Rocket Broadcaster button in the Broadcast Live section. Click Yes in the dialogue box if you already have Rocket Broadcaster installed, and you will be asked to open it and automatically populate Airtime Pro with your details. If you don’t yet have it, click No and you will be taken to Rocket Broadcaster’s website for an easy download.
Once you’ve downloaded a third-party broadcasting app, all you need to do is click Start Broadcast to start live DJing.
For more information on setting up your station and live broadcasting in under five minutes, our friend Mike Russell from Music Radio Creative made a cool promotional video. Check it out.
Before you go
Live broadcasting events such as cultural festivals, sports and social events, conferences and trade shows are a perfect opportunity to keep your audience informed on the latest trends. And don’t forget music concerts as well, though in the case of artists with commercial representation you’ll need to clear the broadcasting rights beforehand.
In order to retain access to your new Airtime Pro station after the trial period, be sure to purchase one of our hosting plans. Select the ‘Upgrade’ option in the menu on the left of your Airtime Pro interface before the end of your 7-day trial.
Remember, if you sign up for an annual plan, you will get 12 months of broadcasting for the price of 10 months. That’s a 17% discount! For further tips, check out our Quick Start Guide as well as our help center, which contains lots of helpful tips and tricks for getting the most out of your station.
Leave a Reply